
A network switch is the backbone of any robust network, facilitating seamless communication between devices. Setting up and configuring your network switch correctly ensures your network performs efficiently and reliably. This guide walks you through the step-by-step process of installing and configuring a network switch to optimize connectivity for your home or business.
Network switches provide faster, more stable connections for devices on your network compared to Wi-Fi. Whether connecting PCs, printers, or smart devices, a well-configured switch ensures minimal lag and maximum data transfer efficiency. Devices like the Ubiquiti UniFi Dream Router and USW-Pro-Max-16-PoE offer advanced features to enhance both performance and scalability.
Before you begin, select a switch tailored to your needs.
Determine where you’ll place the switch and connected devices. Consider factors like:
2. Assign IP Addresses:
3. Enable VLANs (Optional):
4. Set Up QoS (Quality of Service):
Setting up a network switch may seem complex, but following these steps makes the process straightforward. Investing in reliable devices like the Ubiquiti UniFi Dream Router and USW-Pro-Max-16-PoE ensures your network is scalable, efficient, and future-proof. By carefully planning and configuring your network, you’ll enjoy seamless connectivity and superior performance for all your connected devices.
kavin peter
42 posts
-
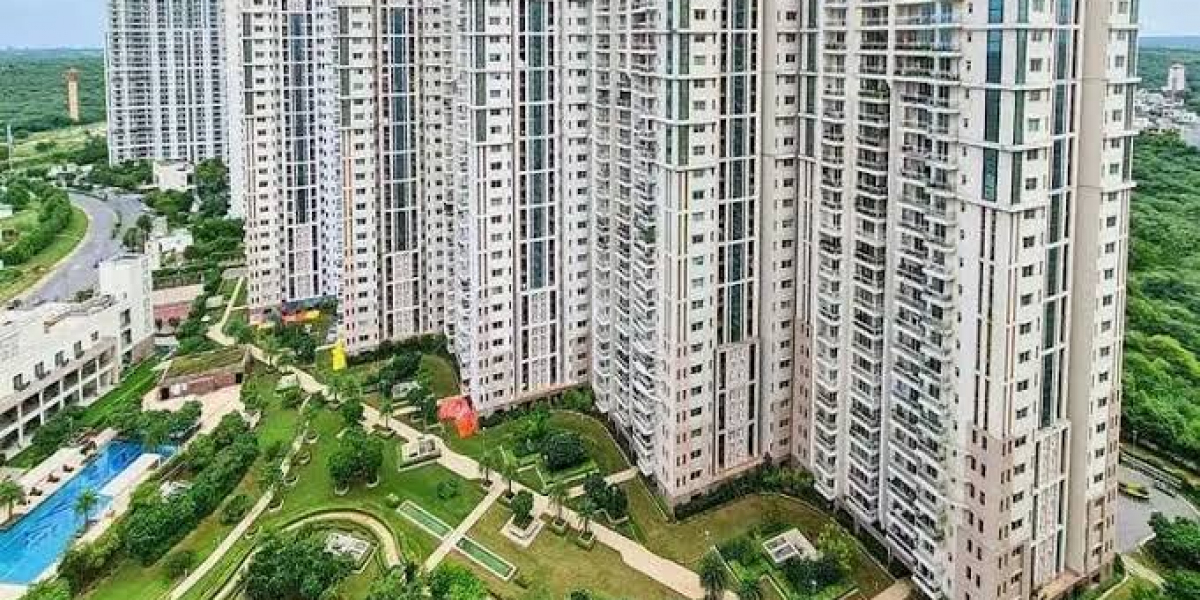 Mastering the Asset: Technical Infrastructure, Micro-Market Value, and Structural Layouts at DLF Park Place
This deep dive focuses on the granular technical infrastructure, exact structural layouts, and macro-economic factors that explain why this specific project maintains a massive edge over its competition in 2026.
-
 Brand Identity and Tenant Experience: Cultivating Loyalty at Elan Empire Gurgaon
Securing high occupancy in a premium high-street asset is only half the battle. For long-term viability, property management and individual investors must shift their focus to building tenant loyalty and creating a distinctive brand identity.
-
 Master Review: Evaluating Godrej Nature Plus, Sector 33, Gurgaon
The layout uses a smart structural pattern where towers are angled away from each other. This creates a staggered footprint that gives corner apartments clear, unblocked views of the Aravalli foothills while ensuring optimal morning and afternoon sunlight. Inside the towers, the floor plan
-
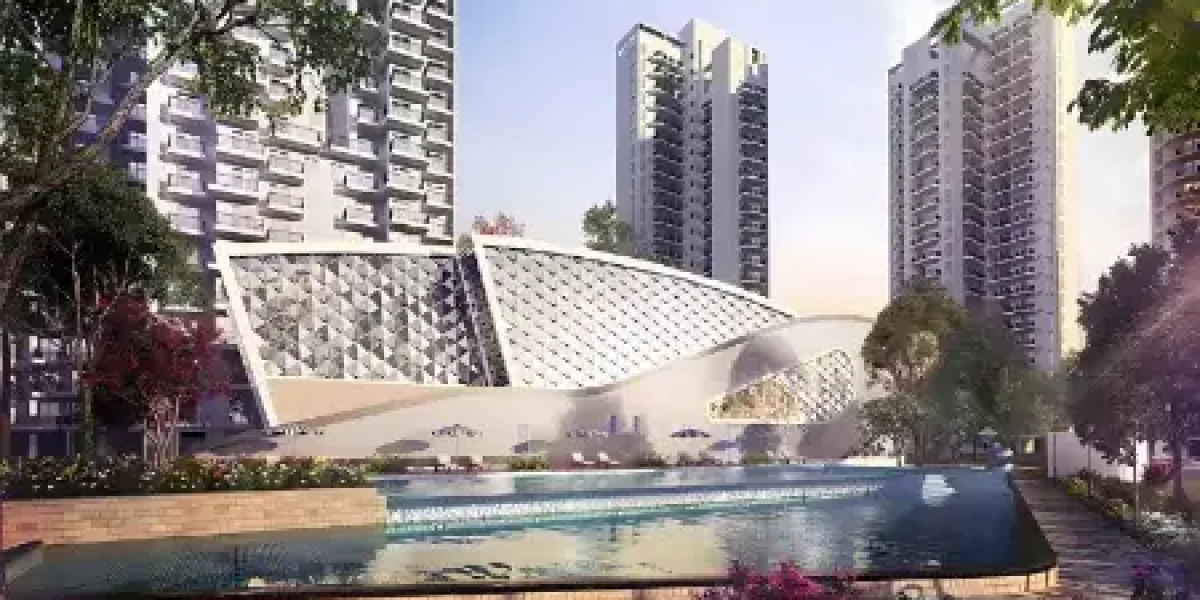
 BPTP Downtown 66: A Masterpiece of Vertical Luxury in Sector 66
BPTP Downtown 66 has emerged as one of the most anticipated high-rise developments on the Golf Course Extension Road. Designed by the globally acclaimed architectural firm Aedas, this project is not just a residential complex but a vertical ecosystem where luxury meets functionality.
-
 Aesthetic Clinic in Australia | Beauty Clinic in Carolina | PM Aesthetics
Discover a trusted aesthetic clinic in Australia and a professional beauty clinic in Carolina. PM Aesthetics offers advanced skincare, cosmetic treatments, and personalized beauty solutions.
-
 The Masterful Synergy at Signature Global Tonino Lamborghini
Signature Global Tonino Lamborghini Residences represents a ₹2,890 crore synergy of Italian supercar aesthetics and Indian engineering excellence in Sector 71.
-
 Sidewalk Repair NYC: A Complete Guide for Property Owners
Sidewalks in New York City endure constant wear and tear due to heavy foot traffic, extreme weather conditions, and tree root growth. Over time, cracks, uneven surfaces, and potholes can develop. These issues not only create an unpleasant appearance but also pose serious safety hazards for
-
 Why Natural Stone Wall Panels Are Becoming the First Choice for Modern Interiors
Discover why natural stone wall panels are becoming a top choice for modern interiors and exteriors. Learn about their durability, aesthetic appeal, and versatile applications for residential and commercial spaces.
-
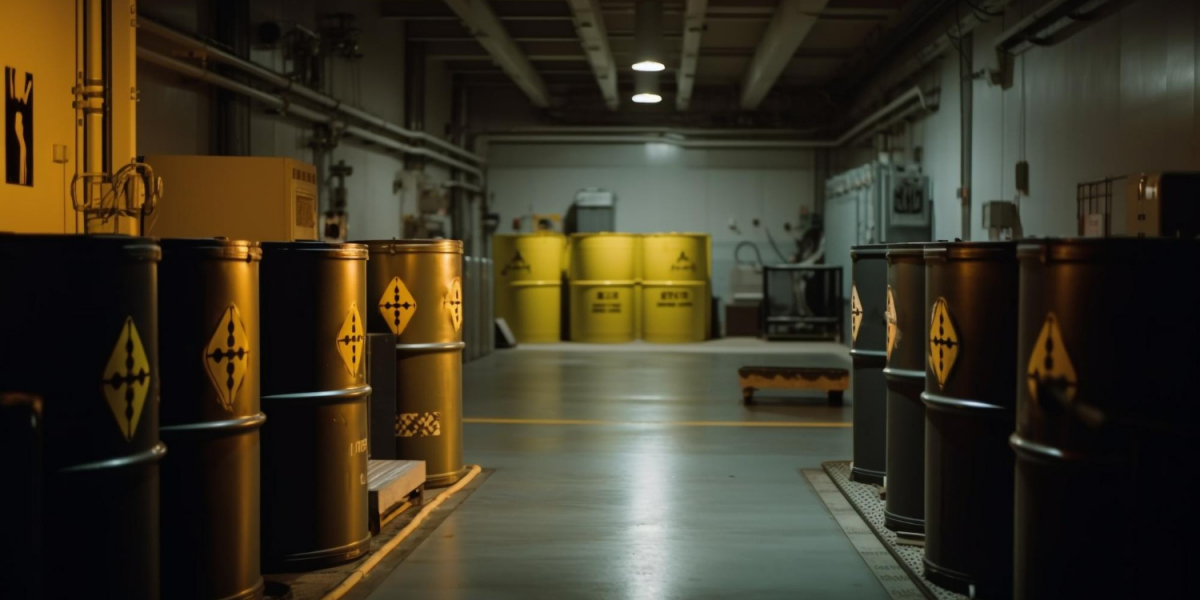 Chemical Supplier for Industrial in UAE: Reliable Solutions for Modern Industries
Find a reliable chemical supplier for industrial in UAE offering high-quality products, consistent supply, and tailored solutions for manufacturing, oil & gas, construction, and water treatment industries.
-
 Signature Global Cloverdale SPR Gurgaon – A Modern Address for Comfortable Living
This connectivity allows residents to easily access major employment hubs, corporate offices, and business districts. The proximity to IGI Airport further adds to its appeal, especially for professionals who travel frequently.
-
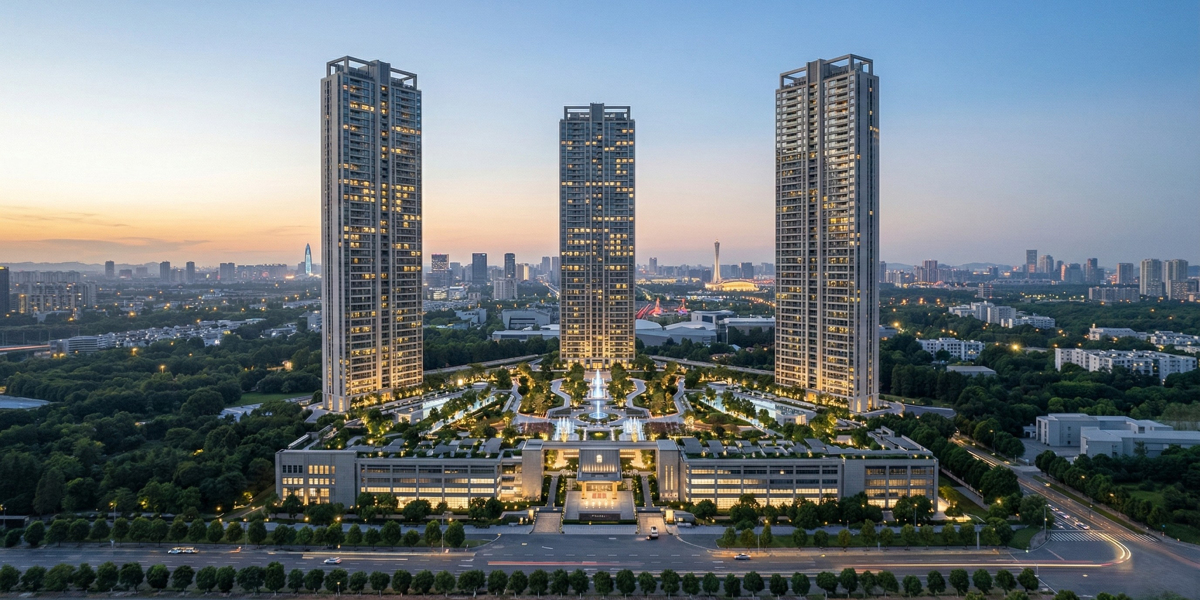
 The Vertical Revolution: Living Above the Ordinary at Sobha Rivana
Sobha Rivana is a G+45 floor architectural landmark in Sector 1, Greater Noida West, featuring a low-density design with only four units per floor and four high-speed elevators. It offers a premium lifestyle with 11-foot high ceilings, 80% open green space, and a 50,000 sq. ft. clubhouse,


