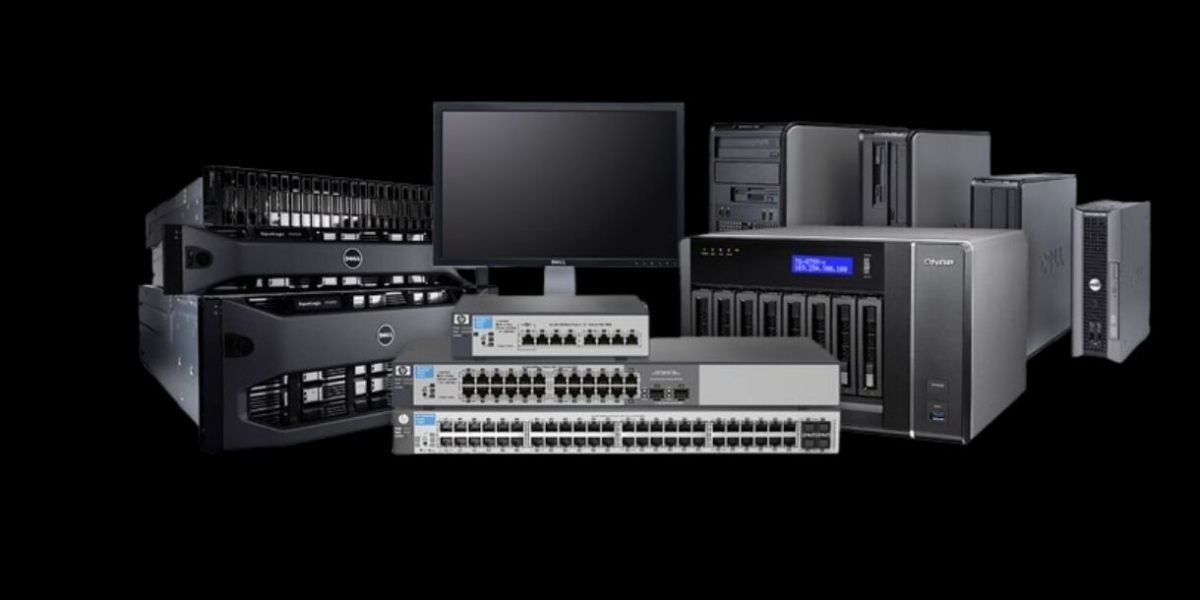
A network switch is the backbone of any robust network, facilitating seamless communication between devices. Setting up and configuring your network switch correctly ensures your network performs efficiently and reliably. This guide walks you through the step-by-step process of installing and configuring a network switch to optimize connectivity for your home or business.
Why Choose a Network Switch?
Network switches provide faster, more stable connections for devices on your network compared to Wi-Fi. Whether connecting PCs, printers, or smart devices, a well-configured switch ensures minimal lag and maximum data transfer efficiency. Devices like the Ubiquiti UniFi Dream Router and USW-Pro-Max-16-PoE offer advanced features to enhance both performance and scalability.
Step 1: Choose the Right Network Switch
Before you begin, select a switch tailored to your needs.
- For small offices or homes, a buy networking device option with fewer ports may suffice.
- For businesses, consider managed switches like the USW-Pro-Max-16-PoE, which supports Power over Ethernet (PoE) for powering devices like cameras and access points.
- If you need to connect outdoor devices, Ubiquiti U7-Outdoor is a great choice for extending your network outdoors.
Step 2: Plan Your Network Layout
Determine where you’ll place the switch and connected devices. Consider factors like:
- Cable Lengths: Ensure Ethernet cables can reach the devices from the switch.
- Device Types: Prioritize devices needing high-speed connectivity.
- Power Requirements: Use PoE-compatible switches, like the USW-Pro-Max-16-PoE, to power devices without separate adapters.
Step 3: Unbox and Connect Your Switch
- Position the Switch: Place it on a flat surface or mount it on a rack.
- Connect Power: Plug the switch into a power source.
- Link to Your Router: Use an Ethernet cable to connect the switch to your main router, such as the Ubiquiti UniFi Dream Router.
Step 4: Connect Your Devices
- Plug Ethernet cables from devices like PCs, printers, and IP cameras into the switch ports.
- For outdoor setups, connect access points like Ubiquiti U7-Outdoor for extended Wi-Fi coverage.
Step 5: Configure the Switch
- Access the Management Interface:
- Use a web browser to log in to the switch’s interface.
- Enter the default IP address provided in the device manual.
2. Assign IP Addresses:
- Configure static or dynamic IPs for connected devices to simplify management.
3. Enable VLANs (Optional):
- Segment your network to improve security and efficiency, especially for larger setups.
4. Set Up QoS (Quality of Service):
- Prioritize traffic for critical devices like VoIP phones or video conferencing systems.
Step 6: Test Your Network
- Ensure all devices are connected and communicating effectively.
- Use tools to test the speed and reliability of connections.
Advanced Tips for Optimization
- For enhanced network capabilities, pair your switch with the Ubiquiti UniFi UCG-MAX, which acts as a robust cloud gateway.
- Use switches with PoE, like the USW-Pro-Max-16-PoE, to simplify powering devices such as surveillance cameras and wireless access points.
Conclusion
Setting up a network switch may seem complex, but following these steps makes the process straightforward. Investing in reliable devices like the Ubiquiti UniFi Dream Router and USW-Pro-Max-16-PoE ensures your network is scalable, efficient, and future-proof. By carefully planning and configuring your network, you’ll enjoy seamless connectivity and superior performance for all your connected devices.


