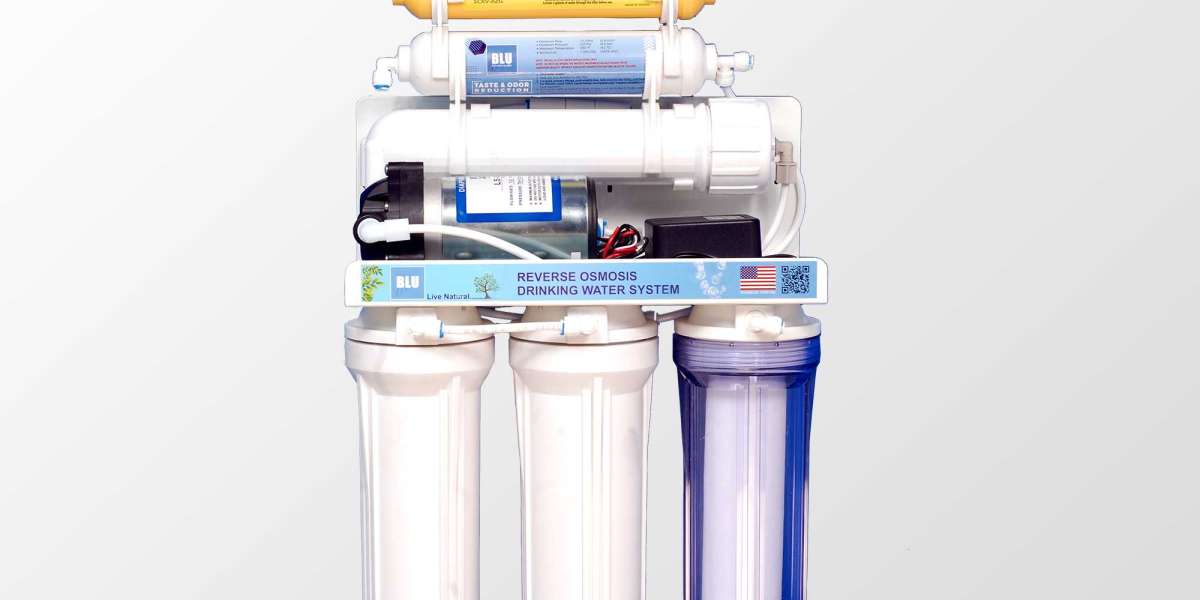
Overview of the Nano Geyser TK8 . water purifier
Nano Geyser TK8 water purifier uses Nano filtration technology , using Aragon core imported from Russia with 4 filtration mechanisms, including: mechanical filter, adsorption filter, ion exchange filter, bactericidal filter. The Aragon core helps to filter out impurities in the water, producing 99% pure clean water. Nano Geyser TK8 is composed of 8 filter elements, of which the first 3 filters are placed in 3 filter cups attached to 1 filter bowl, and the 5 rear cores are placed above the filter bowl. The water after being filtered through 8 cores will come out to the faucet and can be drunk immediately.
See product Nano Geyser TK8 water purifier .
See the article All about Nano Geyser TK8 water purifier .
Description of structure of water purifier Nano Geyser TK8
Water passes through a sediment filter or ion exchange (usually core number 1 - sediment filter is CTO or PP core, ion exchange filter is Cation core) and carbon filter consists of activated carbon core (usually core No. 1, No. 2). – CTO/GAC core) to remove scale and chlorine that can clog the Aragon core.
Next, the water passes through the Aragon core, where dissolved particles, bacteria, viruses are removed.
After filtering, water flows through a functional filter (usually cores 4, 5, 6, 7, 8 - core T33, Mineral core, Nano Silver core) to add minerals, create an easy-to-drink taste, and regenerate bacteria… then the faucet.
Note when choosing filter core: Water source has a lot of sediment, choose core number 1 is PP core, hard water source choose core number 1 is Cation core, other water sources choose core number 1 is CTO core.
Installation instructions for water purifier Nano Geyser TK8
STEP 1 : INSTALL THE ERROR INTO THE FILTER
– Open the product box, take out the machine, core and attached accessories; Peel off the stamps on the filters and then re-insert them into the filter cups in the following order:
+ Gray CTO core/ White cation core with two yellow ends/ white PP core at No. 1;
+ White GAC core with two blue ends at position 2;
+ The Aragon H core is brown in position 3. Note that the Aragon H core comes with a clear white rubber seal, you put this rubber on top of the Aragon core, the small circle part of the joint fits inside the ring. round plastic face above the Aragon core.
– The filter cups when installed in the machine are only loosely screwed, not tight to avoid being afraid when discharging water; or if tight, must open the faucet of the water purifier (open state) before opening the water supply to the machine.
STEP 2 : INSTALL THE WATER DISTRIBUTOR
– Determine the installation location: usually under the sink/kitchen cabinet, etc., near the water supply;
– Shut off your home's water supply valve, usually the kitchen area water valve;
– Remove the water supply valve, install a water divider with an inlet speed control valve. One splitter thread is attached to the water outlet of the faucet in use, one splitter thread is attached to the inlet water source, one connector household water purifier for the 10th wire of the splitter connects the water to the water purifier. Note: Use the included melt tape (young rubber) on the threaded part of the water divider.
STEP 3 : INSTALL THE FAUCET
– Install the faucet into the stainless steel water tank by drilling a round hole just enough to install the faucet or use the included plastic clip (faucet bass) to attach the faucet to the wall and then install the faucet. Then connect the water pipe to the stainless steel faucet using the accessories (included) and fix the screw faucet.
STEP 4 : OPEN WATER SUPPLY VALVE
– Open the faucet of the water purifier, open the source water supply valve that you locked at first, open the damper of the water divider; adjust the water output to suit your needs;
– Note that air can be released in the filter cups. After the water has come out of the stainless steel faucet, just squeeze the filter cups tightly enough with the open hand.
STEP 5 : DRAIN WATER
– Drain the water for about 30 minutes – 1 hour to flush out the preservatives in the filter glass, core, water pipes… until the water is clear, you can drink it directly without boiling.


