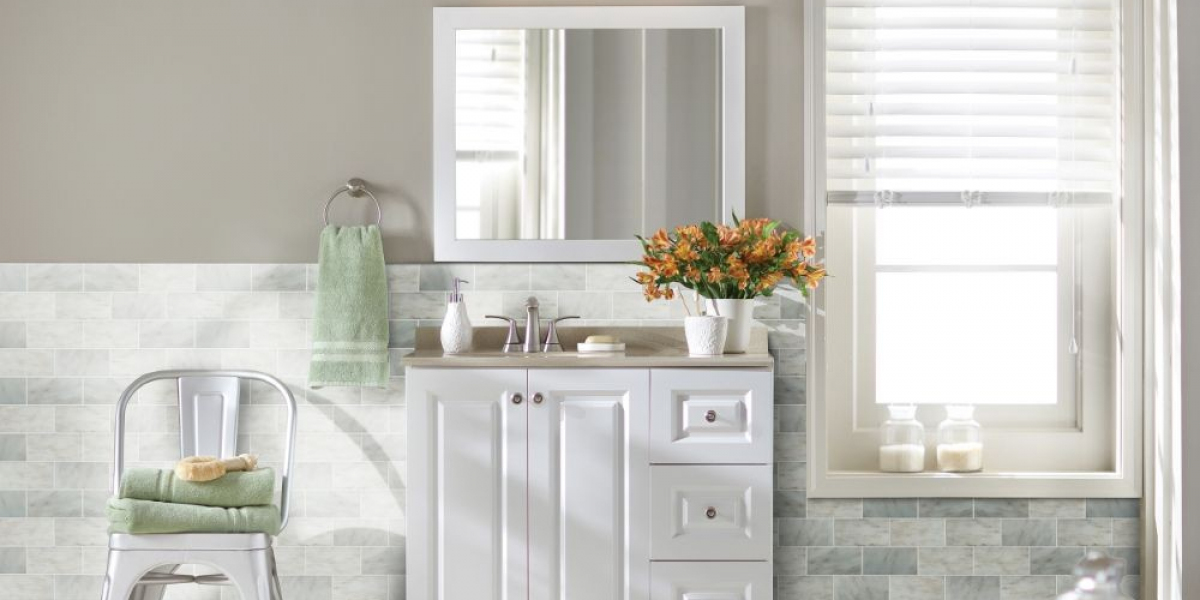
When it comes to installing ceramic, porcelain, and stone tiles, each material has its own unique characteristics that impact the process. Understanding these differences will help you make the right choice for your project and ensure a smoother installation. Let’s break down the key differences in terms of installation:
1. Ceramic Tiles
Installation Ease:
Ceramic tiles are generally the easiest to install, making them a popular choice for DIY projects. They’re lightweight, and their softer texture compared to porcelain or stone makes cutting and handling simpler. If you're looking to tackle an installation yourself, ceramic tiles might be the best option.
Tools Needed:
For cutting ceramic tiles, a standard tile cutter or wet saw works well. Because of their relatively soft surface, they’re easier to cut cleanly.
Surface Preparation:
Ceramic tiles require a smooth, even surface for installation. If you're applying them over existing flooring, ensure it’s level and free of any imperfections, as ceramic tiles can crack if laid over an uneven surface.
Adhesive:
Ceramic tiles bond well with standard tile adhesive (thin-set mortar), and since they are relatively light, the process is straightforward without needing special adhesives.
2. Porcelain Tiles
Installation Difficulty:
Porcelain tiles are much denser and harder than ceramic tiles, which makes them more durable but also more challenging to install. Their density means they are less prone to cracking but also harder to cut, requiring specialized tools and more effort during installation.
Tools Needed:
For cutting porcelain, you’ll need a diamond-blade wet saw for precise, clean cuts. Handheld tile cutters often won’t be sufficient due to porcelain’s hardness. This makes porcelain tiles better suited for professional installers unless you have experience with these tools.
Surface Preparation:
Similar to ceramic, porcelain tiles need a smooth, even surface. However, they are heavier, so making sure the surface is solid and sturdy is essential, especially on walls or areas where load-bearing is a concern.
Adhesive:
Porcelain tiles require a stronger adhesive compared to ceramic because of their weight and density. A latex-modified thin-set mortar is usually recommended for a secure bond, especially in areas exposed to moisture, such as bathrooms or outdoors.
3. Stone Tiles
Installation Complexity:
Stone tiles (like marble, granite, travertine, etc.) are more natural and varied in composition, making installation more complex. Each tile can have slight differences in thickness and size, which means a higher level of precision is needed during installation. The natural irregularities of stone add character but require more expertise.
Tools Needed:
Cutting stone tiles is a tougher task. A diamond-blade wet saw is essential for clean and smooth cuts. Since stone is much thicker and harder, it takes longer to cut and can be more difficult to handle.
Surface Preparation:
The surface needs to be perfectly level, especially for stone tiles, as they’re less forgiving of imperfections. Additionally, since stone can absorb moisture, a moisture barrier or sealant under the tiles may be needed, especially for bathroom or outdoor installations.
Adhesive:
Natural stone tiles require specialized adhesives, like a thin-set mortar with a latex additive for added flexibility and strength. It’s also important to use a grout that won’t stain the stone, as some stones are porous and can absorb grout if it’s not sealed properly.
Sealing:
One major difference with stone tiles is that they need to be sealed before and after installation. This helps protect the stone from staining, moisture absorption, and other damage. Sealing adds an extra step and requires maintenance over time, but it’s essential for keeping stone tiles in good condition.
Key Differences Summarized:
- Ceramic is the easiest to install, lightweight, and good for DIY projects. Standard adhesive and tools suffice.
- Porcelain is more durable but harder to cut and requires stronger adhesive and a diamond-blade wet saw. It's better suited for professional installation.
- Stone is the most challenging, with unique variations and the need for sealing. It requires specialized tools, adhesives, and more expertise due to the natural material.
Common Pitfalls to Avoid:
- Rushing the Prep Work: Whether using ceramic, porcelain, or stone, make sure your surface is level and properly prepared to avoid cracks or shifting tiles later.
- Cutting Corners on Adhesive: Using the right adhesive is crucial, especially for heavier tiles like porcelain and stone.
- Skipping the Sealing Step: For stone tiles, don’t skip the sealing process—this will protect your investment in the long run.
Thanks for reading! For all your tile needs—whether ceramic, porcelain, or stone—be sure to visit tilesbay.com for the best selection of tiles and expert advice on your next project!


