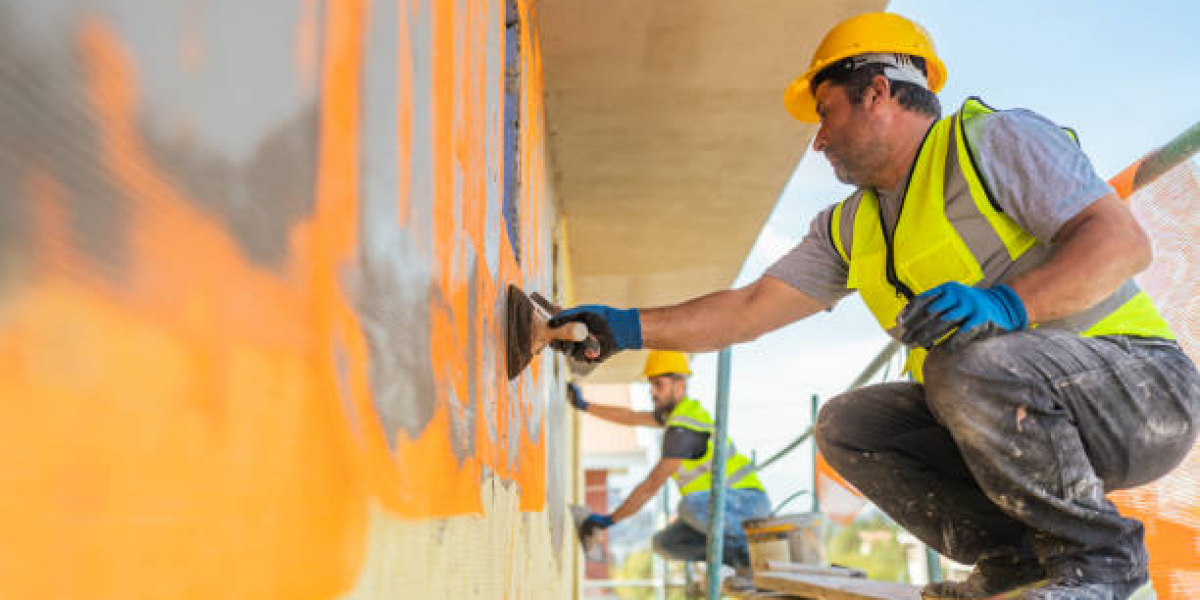
Plastering is an essential skill for anyone looking to achieve smooth, professional-looking walls in their home. Whether you're a DIY enthusiast or simply looking to understand the plastering process better, this guide will walk you through the ultimate step-by-step plastering process. Understanding how to properly apply plaster can transform the look of your interior spaces and increase the overall value of your home. In this article, we’ll cover the necessary tools, materials, and techniques you need to create beautifully finished walls.
Preparing the Surface
The first step in the plastering process is to prepare the surface you will be working on. This involves cleaning the walls of any dust, grease, or loose paint. If your walls have any holes or cracks, they should be repaired before applying plaster. You can use a patching compound for larger holes and ensure that all repairs are sanded down to create a smooth surface. Once the wall is prepped, it’s essential to apply a bonding agent to enhance adhesion. This step is crucial, as a properly prepped wall will ensure that your plaster adheres effectively, minimizing the risk of cracking and peeling.
Mixing and Applying Plaster
After your surface is prepared, it's time to mix your plaster. Follow the manufacturer’s instructions for the best results, ensuring that you achieve a creamy, lump-free consistency. Once your plaster is mixed, you can begin applying it to the walls. Start at the top corner of the wall and work your way down using a trowel. Apply an even layer of plaster, typically about 2 to 3 millimeters thick. Make sure to work in small sections to maintain control and prevent the plaster from drying out before you can smooth it. For those who prefer, hiring professional plastering services can take the guesswork out of this process, ensuring a flawless finish.
Smoothing and Finishing
After the initial coat of plaster has dried, it’s time to smooth it out. Use a trowel to carefully feather the edges of your plaster, ensuring there are no visible lines or bumps. If needed, you can apply a second coat of plaster for extra thickness and a more polished appearance. Once the final layer is applied and dried, you can use fine sandpaper to achieve an ultra-smooth finish. This step is essential for preparing your walls for painting or wallpapering. For those who prefer a professional touch, enlisting the help of plastering services can ensure that your walls are perfectly smooth and ready for any finish you desire.
Conclusion
Plastering may seem daunting at first, but with the right preparation and technique, you can achieve stunning results. Whether you choose to tackle the project yourself or hire plastering services, understanding the plastering process will empower you to create beautiful walls in your home. By following the steps outlined in this guide, you'll be well on your way to enjoying smooth, polished walls that enhance your living space. Happy plastering!


