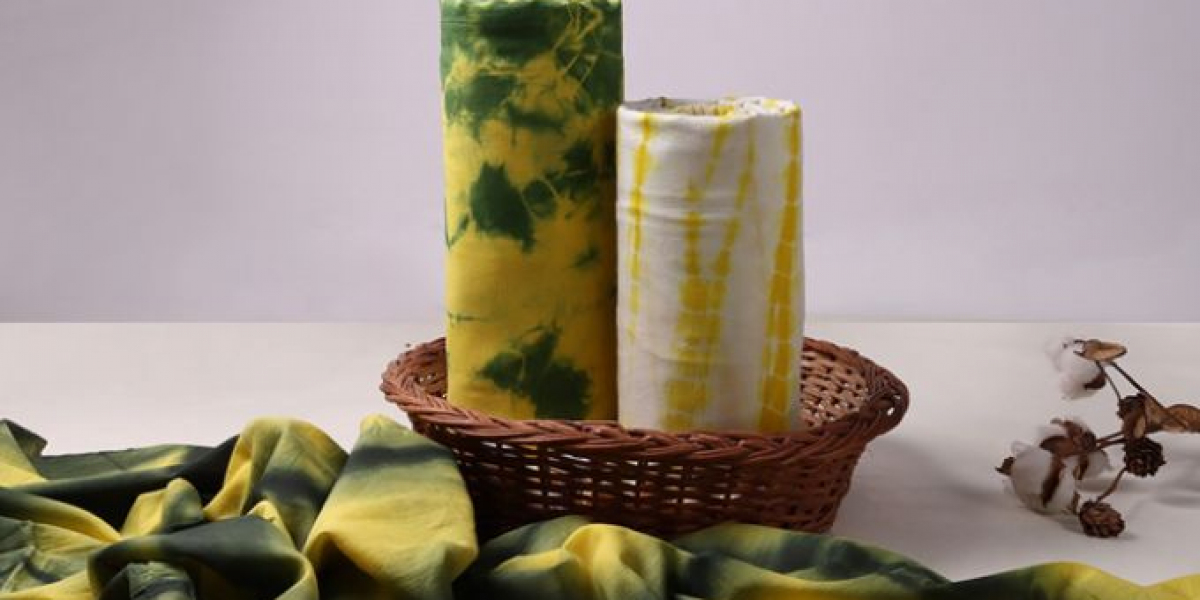
Printing on canvas fabric is a fantastic way to add a personal touch to your home décor, create custom art pieces, or design unique textile products. Known for its durability and texture, canvas provides an excellent surface for printing designs, whether they’re vibrant patterns, intricate illustrations, or photos. If you’re new to printing on canvas fabric, this guide will walk you through the steps to achieve professional-looking results, whether you’re using block printing, screen printing, or digital printing.
Step 1: Choose the Right Canvas Fabric
Before starting, it’s essential to select the right type of canvas fabric for your project. Canvas comes in different weights and materials, with cotton and polyester being the most common. Cotton canvas offers a natural, textured look, while polyester canvas tends to hold brighter colors and works well for digital printing.
For fabric printing, a tightly woven canvas works best, as it provides a smoother surface for the ink or paint to adhere to. Make sure the fabric is pre-washed to remove any sizing or finish, which can interfere with the printing process.
Step 2: Select Your Printing Method
There are several popular methods for printing on canvas fabric, depending on the resources and equipment you have available. Here are a few of the most common techniques:
Block Printing: Block printing is an ancient method that involves carving designs into a wooden or linoleum block, dipping it in ink or fabric paint, and pressing it onto the fabric. It’s ideal for repetitive patterns or simple designs.
Screen Printing: In this technique, a stencil is used to block ink from certain parts of the fabric. Ink is then applied to the screen and pushed through onto the canvas fabric, leaving the design behind. Screen printing works well for larger, more intricate designs.
Digital Printing: If you have access to a large-format printer that’s designed for fabrics, digital printing offers the most precise and detailed results. This method is perfect for complex images, including photos.
Step 3: Prepare Your Design
The next step is preparing your design. Whether you’re working with a handmade pattern or a digital image, make sure your design fits the size and dimensions of your canvas fabric. You can use graphic design software like Adobe Illustrator or Photoshop to create digital designs. For block or screen printing, sketch the design on paper first before transferring it to the block or screen.
If you’re using digital printing, ensure that the resolution of your image is high enough to maintain sharpness. A resolution of at least 300 DPI (dots per inch) is recommended for fabric printing.
Step 4: Apply the Print
Depending on the printing method you’ve chosen, the application process will vary:
For Block Printing: Dip your block into fabric paint, ensuring an even coating. Carefully press it onto the canvas fabric and lift it straight up to avoid smudging. Repeat as necessary to create your pattern.
For Screen Printing: Place your screen over the fabric and pour ink onto the screen. Use a squeegee to drag the ink across the screen, ensuring it passes through the stencil onto the canvas. Lift the screen carefully once the design is printed.
For Digital Printing: Load the canvas fabric into your fabric printer, making sure it is properly aligned. Send your design to the printer and let it work its magic.
Step 5: Set the Ink or Paint
Once your design has been applied, it’s crucial to set the ink or paint to ensure durability. For fabric paints or inks, this usually involves heat setting the fabric. You can do this by placing a pressing cloth over the printed area and ironing it for several minutes on medium heat.
If you’re using a digital printer, refer to the printer’s manual for specific setting instructions, as many fabric printers are designed to bond ink to the fabric without extra steps.
Step 6: Let it Dry and Enjoy!
After the print is set, allow the canvas to dry completely. This may take several hours or overnight, depending on the type of ink or paint you used. Once dry, your custom-printed canvas fabric is ready to be turned into beautiful products like bags, wall art, upholstery, or clothing.
Conclusion
Printing on canvas fabric allows for endless creativity and personalization. Whether you’re using traditional methods like block and screen printing or modern digital printing techniques, following these steps will help you achieve stunning, long-lasting results. Whether it’s for home décor, fashion, or art, canvas fabric offers a versatile and durable surface for your printed creations.


