
How to Put Tissue Paper in a Gift Bag
Adding tissue paper to a gift bag may seem simple, but doing it the right way can transform your gift from ordinary to beautifully presented. Whether you're preparing a birthday surprise, holiday present, or corporate gift, mastering this small detail can make a big difference.
In this complete guide, you’ll learn exactly how to put tissue paper in a gift bag so it looks professional, stylish, and eye-catching.
Why Tissue Paper Matters in Gift Bags
Tissue paper is more than just decoration. It serves several important purposes:
- Enhances presentation – Makes your gift look polished and elegant
- Adds volume – Helps fill empty space in the bag
- Protects the gift – Cushions delicate items
- Builds excitement – Creates a sense of anticipation when opening
A well-arranged gift bag shows thoughtfulness and attention to detail.
Materials You’ll Need
Before you begin, gather the following:
- Gift bag (appropriate size for your item)
- Tissue paper (2–6 sheets depending on fullness)
- Your gift item
- Optional: ribbon, tag, or decorative filler
Step-by-Step: How to Put Tissue Paper in a Gift Bag
Step 1: Choose the Right Tissue Paper
Select tissue paper that complements your gift bag and occasion. You can:
- Match colors for a clean, elegant look
- Mix contrasting colors for a bold style
- Use printed or themed tissue paper for holidays or events
💡 Tip: For a premium look, use 2–3 coordinating colors.
Step 2: Prepare the Tissue Paper
Take one sheet of tissue paper and lay it flat on a clean surface.
Instead of folding it neatly (which looks stiff), try this method:
- Gently pinch the center of the sheet
- Let the edges fall naturally downward
- Lightly fluff it for volume
This creates a soft, flower-like shape that looks more attractive.
Step 3: Layer Multiple Sheets
Repeat the same process with additional sheets:
- Use 2–4 sheets for small bags
- Use 4–6 sheets for larger bags
Rotate each sheet slightly so the colors and edges don’t overlap exactly. This gives a fuller and more dynamic appearance.
Step 4: Place Tissue Paper in the Bag
Insert the pinched center of the tissue paper into the bag first.
- Let the top edges fan out above the opening
- Adjust gently so it looks balanced on all sides
Avoid pressing it down too much—fluffiness is key!
Step 5: Add the Gift
Carefully place your gift inside the bag:
- If the item is delicate, add a layer of tissue at the bottom first
- Position the gift in the center
- Make sure it doesn’t crush the tissue paper
Step 6: Final Touches
After placing the gift, adjust the tissue paper:
- Pull up edges if needed
- Spread evenly for a full look
- Add extra sheets if it looks sparse
Optional enhancements:
- Tie ribbon around the handle
- Attach a gift tag
- Add decorative fillers like shredded paper
Different Tissue Paper Styles You Can Try
1. Classic Fan Style
The most common method—simple and elegant. Tissue paper fans out naturally from the center.
2. Layered Color Burst
Use multiple colors stacked together for a vibrant, festive appearance.
3. Crinkle Fill Base
Add shredded paper at the bottom and top with tissue paper for a fuller bag.
4. Envelope Fold
Fold tissue paper neatly for a structured, formal presentation—ideal for corporate gifts.
Vuloi Happy
12 posts
-
 Bedford train crash occurred after train passed red signal and was not stopped, investigators believe
Interim report says other train it hit had halted on line because warning system wrongly caused it to brake
-
 UK warehouse landlord Segro rejects £12.6bn takeover offer from US rival
FTSE 100 firm says Prologis all-share proposal turned down as it falls long way short of its own views on value
-
 Heatwave pushes Great Britain’s grid operator to call for extra electricity from power plants
Neso issues rare summer warning for Wednesday evening, as households turn on fans and air conditioning
-
 Former WH Smith’s small suppliers to lose at least half of debts in rescue plan
If TG Jones’s aggressive restructuring is voted through, the charity Help for Heroes and other creditors will be out of pocket
-
 Elon Musk’s trillionaire status at risk after drops in SpaceX and Tesla’s shares – business live
Rolling coverage of the latest economic and financial news
-
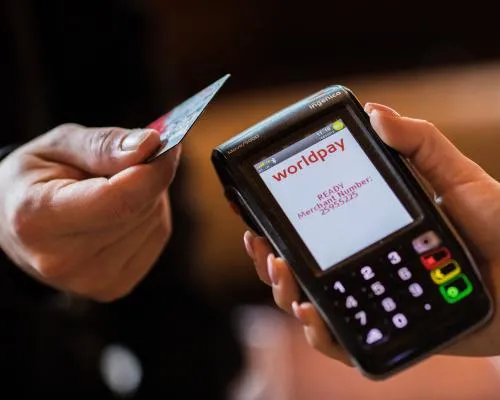 Card payments outage hits pubs and shops during England match
Customers report having to use cash at stores such as Tesco and to buy drinks due to outage at payments processor WorldPay
-
 Adidas, Uniqlo and Calvin Klein ads banned over ‘recycled’ clothing claims
UK regulator has increased its scrutiny of fashion retailers over potentially misleading environmental statements
-
 Electricity prices jump in Europe as demand soars in the heatwave
Great Britain has paid at least six times the normal price for imported power as millions turn on air conditioning and windfarm output sags
-
 US AI stock sell-off shakes markets from Wall Street to Asia
Losses spread globally as investors questioned soaring valuations and spending on AI infrastructure
-
 Audit firm to Gupta metals empire fined and banned for ‘egregious’ failures
UK watchdog gives King & King severe reprimand for failing ‘to identify clear self-interest’ when conducting audits
-
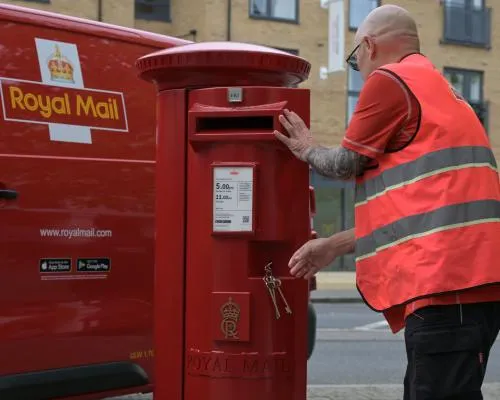 Royal Mail boss’s pay package soars to £6.9m despite profits slide
Martin Seidenberg, chief executive of parent company IDS, handed payouts after takeover of UK postal service


